Most offices set up IP phones automatically through auto provisioning. But there are times you need to register a phone by hand: a single new phone, a phone at a branch or a home office, or troubleshooting. This guide walks through manual SIP phone configuration, the settings that matter, and how to fix the usual problems.
What you need first
From your IP PBX administrator, get:
- SIP server address: the IP address or domain of the IP PBX.
- Port and transport: usually 5060 for UDP or TCP, or 5061 for TLS.
- Extension number (often the SIP user name).
- Authentication ID and password for that extension.
- Outbound proxy, if your network uses one.
Step by step
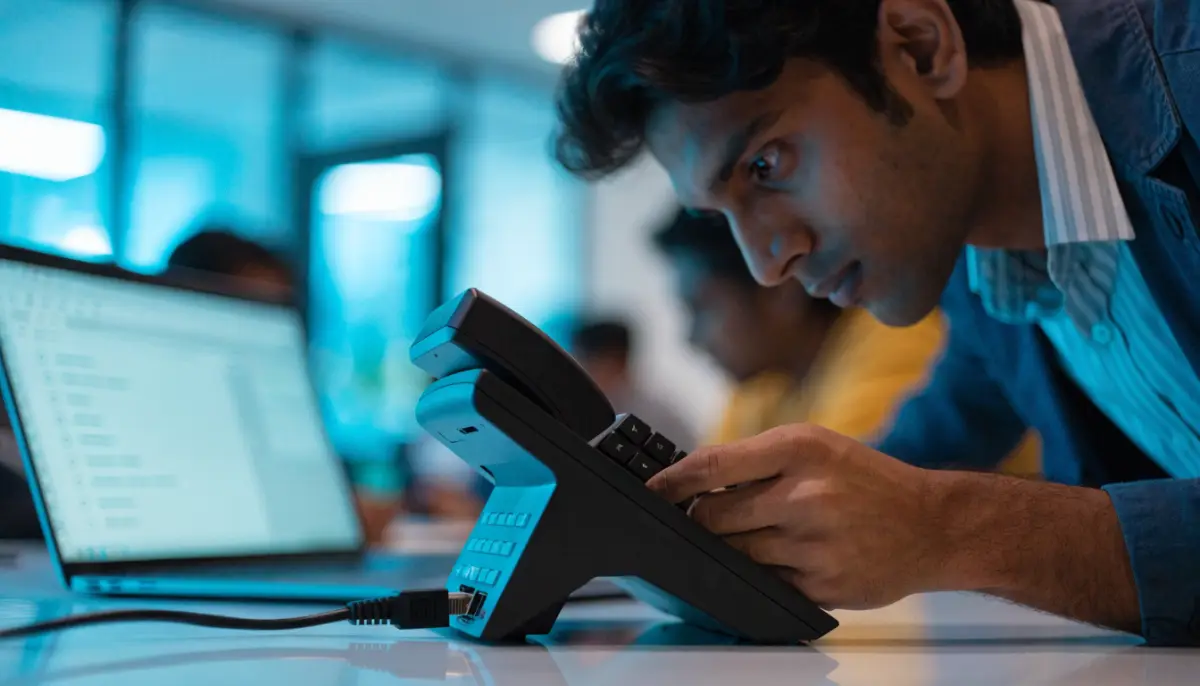
- Find the phone’s IP address. On most phones, press the menu or OK key and look under status or network.
- Open the web interface. Type the IP address in a browser on the same network and log in with the admin user. Change the default admin password straight away.
- Open the account (line) settings. Choose Line 1 or Account 1.
- Enter the account details: the display name shown on the phone and to callers, the user name (the extension number), the authentication ID and password, and the SIP server address and port.
- Choose the transport: UDP is the default; use TLS if your PBX supports it, with SRTP for encrypted voice.
- Set codecs: put G.722 first for HD voice inside the office, then G.711. Use G.729 only where bandwidth is limited and the PBX supports it.
- Save and check registration. The line icon on the phone should show as registered, and the PBX should show the extension online.
- Make test calls: internal, external, and a transfer.
Settings worth getting right
| Setting | Recommended |
|---|---|
| Time and NTP | Point to an NTP server so call history and voicemail times are correct |
| DTMF | RFC 2833 (RTP events), matching the PBX |
| Registration expiry | 3600 seconds or as the PBX recommends; shorter behind NAT |
| NAT keep-alive | On, for phones at branches or homes |
| Voicemail number | The PBX voicemail feature code |
| Web access | Admin password changed; HTTPS on |
Fixing common problems
- Phone will not register: check the user name, authentication ID and password; one wrong character is the usual cause. Check that the phone can reach the PBX address and port.
- “403 Forbidden”: wrong password, or the PBX blocked the phone after failed attempts. Check the PBX security log.
- One-way or no audio: usually NAT or a firewall blocking RTP. Use a VPN or the PBX’s NAT settings for remote phones, and turn off SIP ALG on the router.
- Calls drop after 30 seconds: often SIP ALG or a NAT timeout. Turn off SIP ALG and enable keep-alive.
- Registered but cannot call out: a dial plan or permission issue on the PBX, not the phone.
When to use auto provisioning instead
Typing settings works for one or two phones. For a whole floor, use IP phone auto provisioning: with the Voxdial IP PBX, you plug the phone in and it gets its extension, codecs and keys from the PBX. The BitVoice B301 supports both manual set-up and zero-touch provisioning on Voxdial.
Choosing phones first? Read how to choose an IP phone. Need help? Contact BitVoice.
FAQs
How do I register a SIP phone to a PBX?
Open the phone’s web interface, enter the SIP server, extension, authentication ID and password under the account settings, save, and check the line shows as registered.
What port does SIP use?
SIP usually uses port 5060 for UDP and TCP, and 5061 for TLS. Your IP PBX administrator will confirm the port.
Why does my IP phone have one-way audio?
Usually NAT or a firewall is blocking voice (RTP) packets. Turning off SIP ALG on the router and using the PBX’s NAT settings or a VPN usually fixes it.
Should I configure IP phones manually or with auto provisioning?
Manual set-up is fine for one or two phones. For many phones, auto provisioning is faster and avoids typing mistakes.